Quickstart
After having installed the aligner tool, let’s now see how to use it.
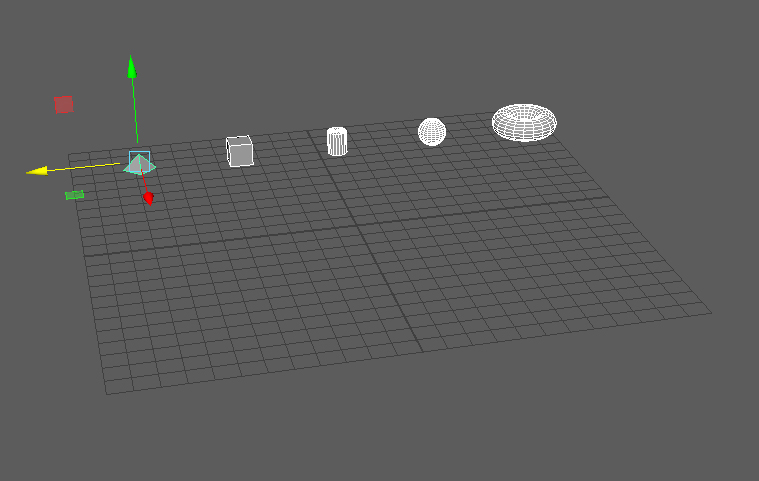
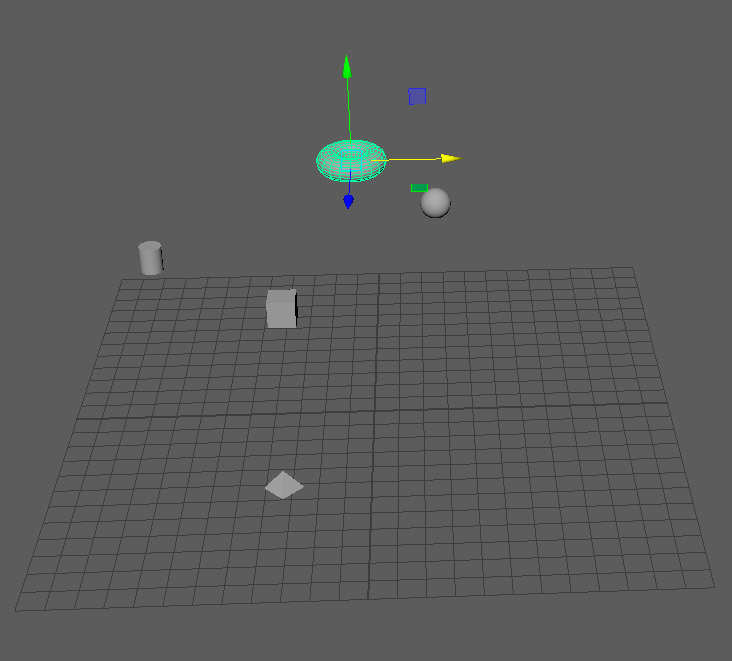
In order to use it, select some objects that you would like to align or distribute evenly.
Launch the aligner tool from the menu bar: Scripts -> aligner -> open:

In the following sections we will have a look at some common usage examples.
Aligning elements to the top
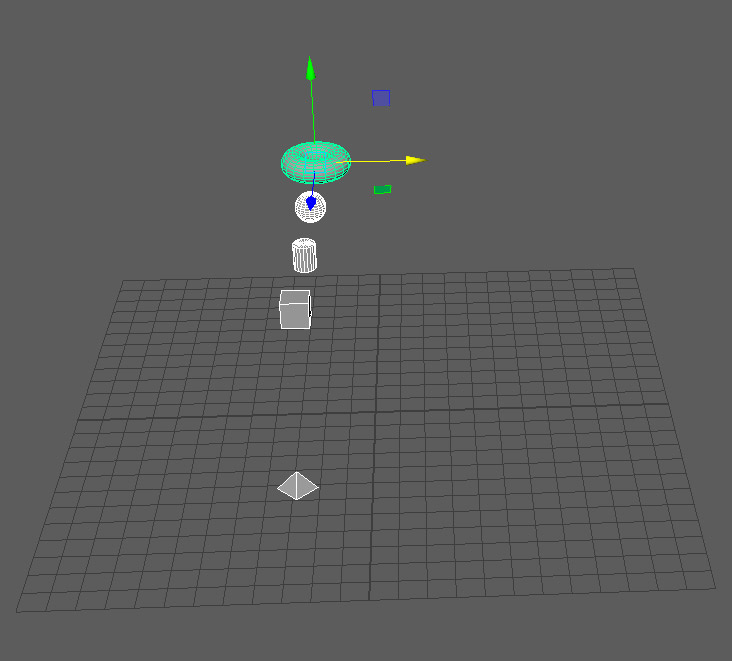
In our example, we want to align all selected elements at to the same height in the y position of our Cylinder1 object.
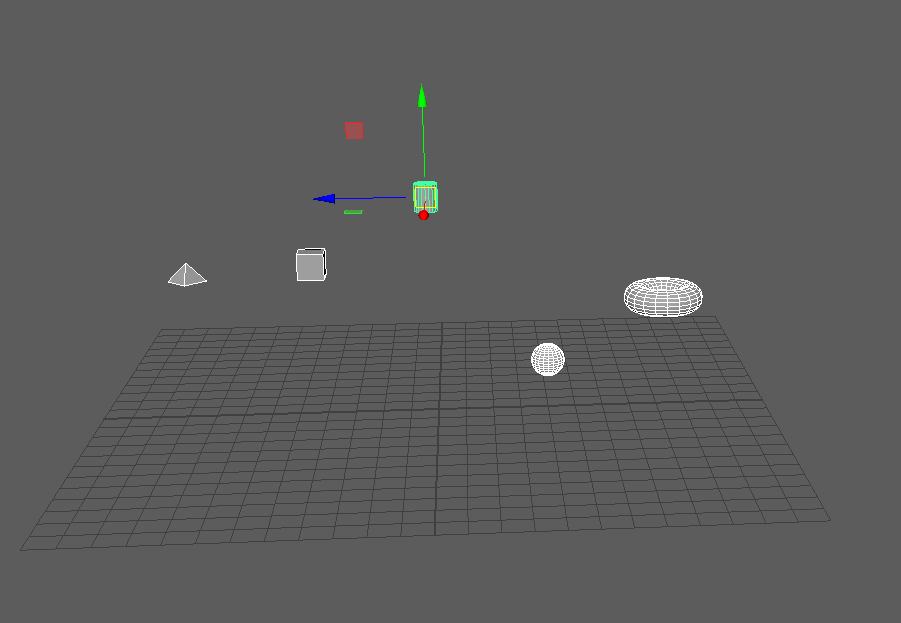
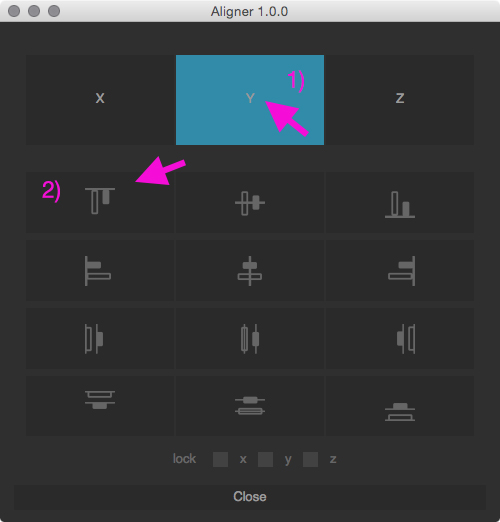
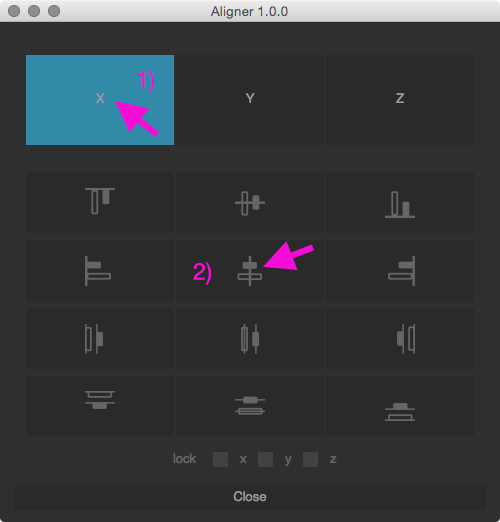
As we want to align to the Y-Axis, enable the Y axis button at the top. Next, click the align top button.
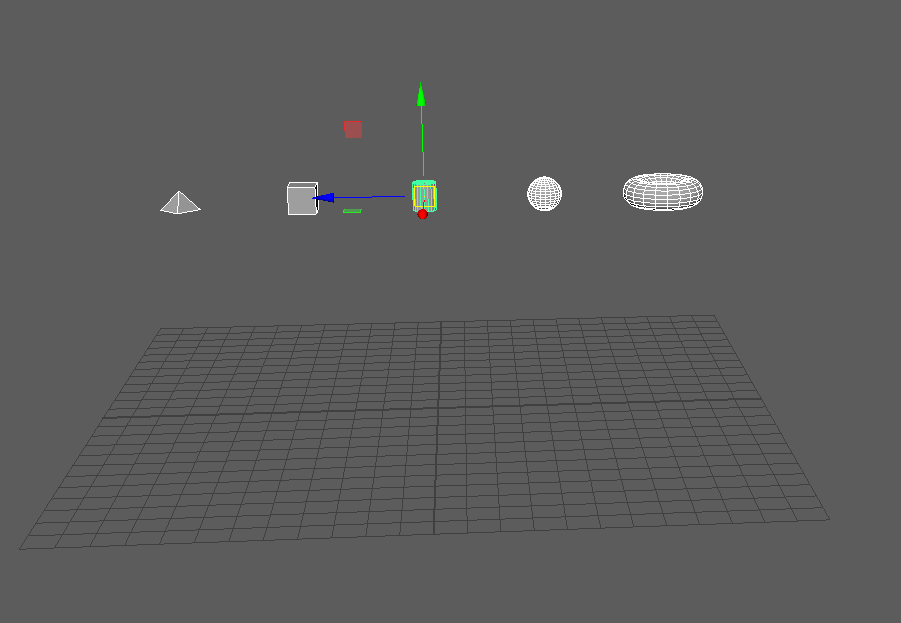
All selected objects are aligned to the Cylinder1 object. This element itself does not alter its position.
Aligning elements in the middle
In our next example, let’s align all selected elements to the middle in the X-axis.
Select some elements.
Set the Axis to X and choose the align vertical button.
The objects will be aligned accordingly.
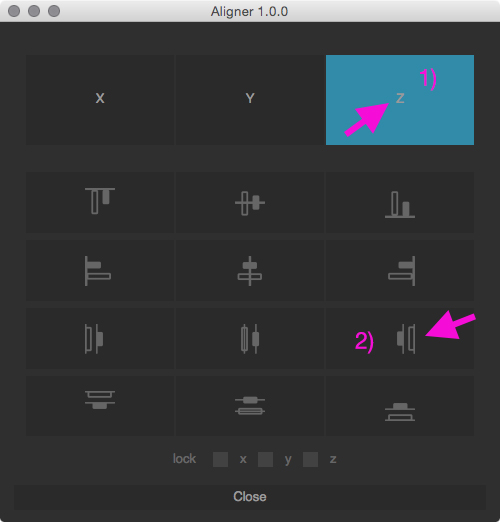
Distribute objects along Z axis
In this example, let’s distribute the selected elements evenly between the outer most objects in z axis.
Select the elements.
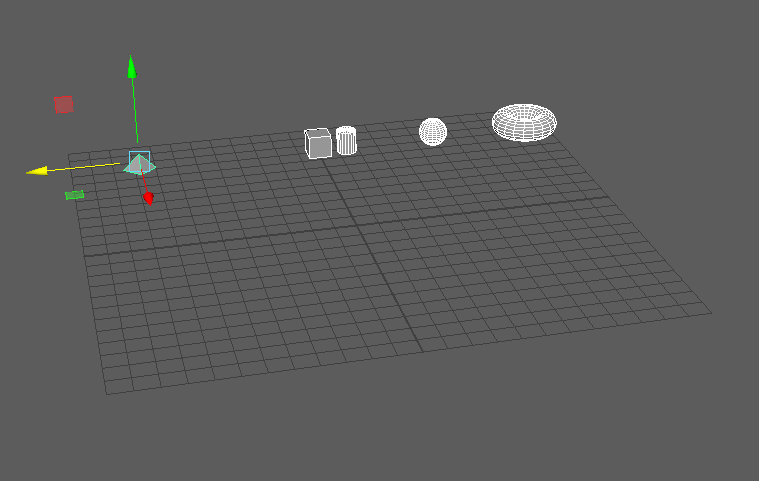
Set the Axis to Z and choose the distribute right button.
The objects will be distributed accordingly.